Give every hazard its own evidence question
A single footwear feature does not prove every kind of protection. Start with the hazards already documented in the workplace assessment, then verify the marking, test record or controlled document that answers each requirement on the exact model and variant.
Hazard-to-evidence map
| Workplace hazard | Evidence to verify | Common mistake |
|---|---|---|
| Falling or rolling objects | Applicable protective-toe marking and, where required, separate metatarsal evidence. | Assuming every work boot has a tested protective toe. |
| Nails or sharp debris | Puncture-resistant underfoot marking or controlled document for the exact model. | Treating a safety toe as proof of sole protection. |
| Electrical shock | The electrical-hazard designation required by the job and applicable standard. | Confusing electrical-hazard footwear with static-control footwear. |
| Static-sensitive process | The specified SD, ESD or other static-control record and resistance range. | Using an EH designation as a substitute for static control. |
| Wet, oily or smooth surface | Relevant model-level slip test data, outsole information and surface suitability. | Calling an outsole universally slip-proof. |
| Water exposure | The exact water-resistant or waterproof claim, coverage and stated limits. | Assuming a water claim proves traction. |
Read the exact model record
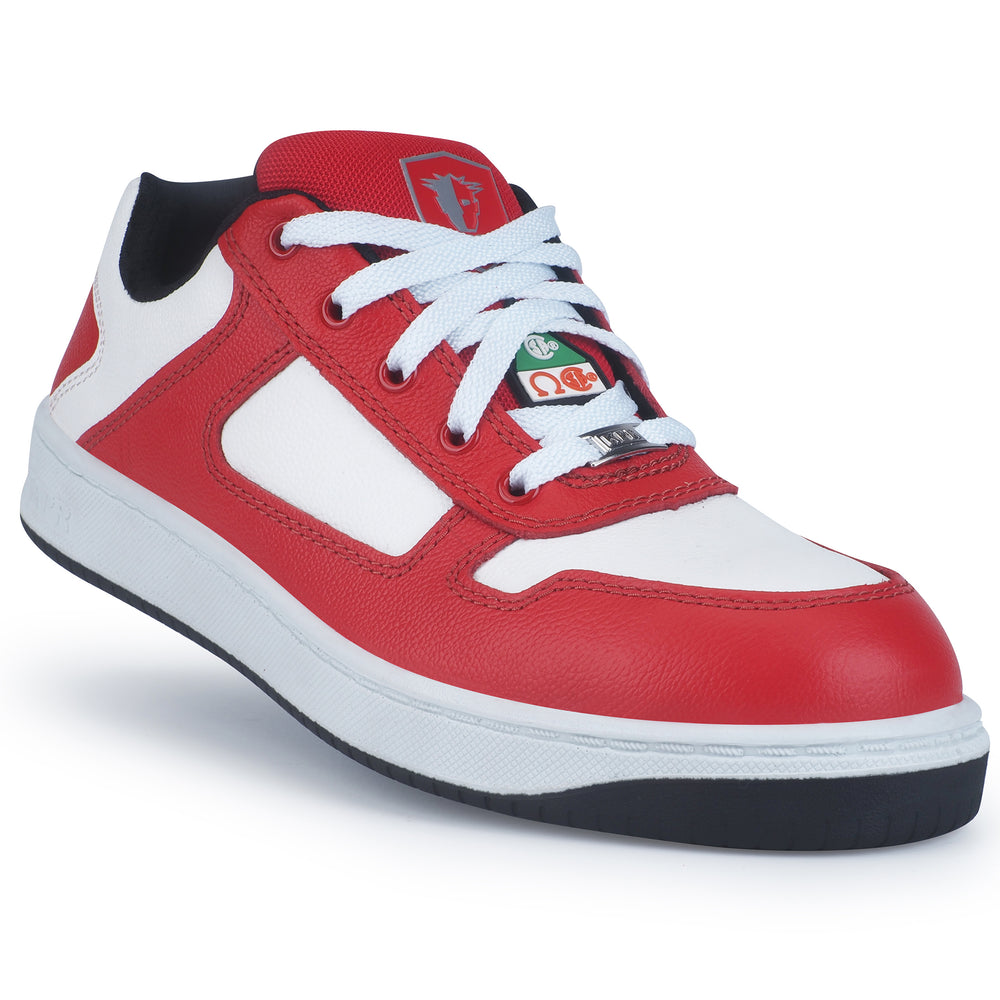
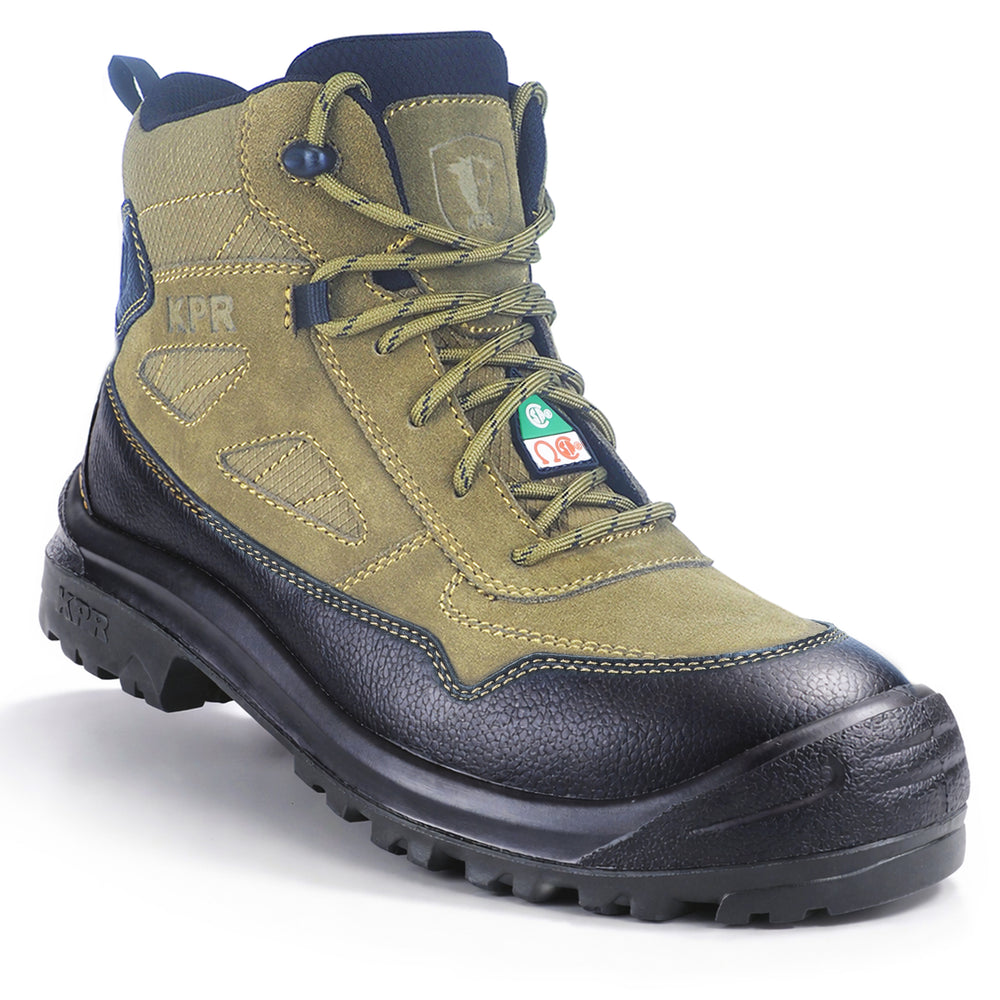
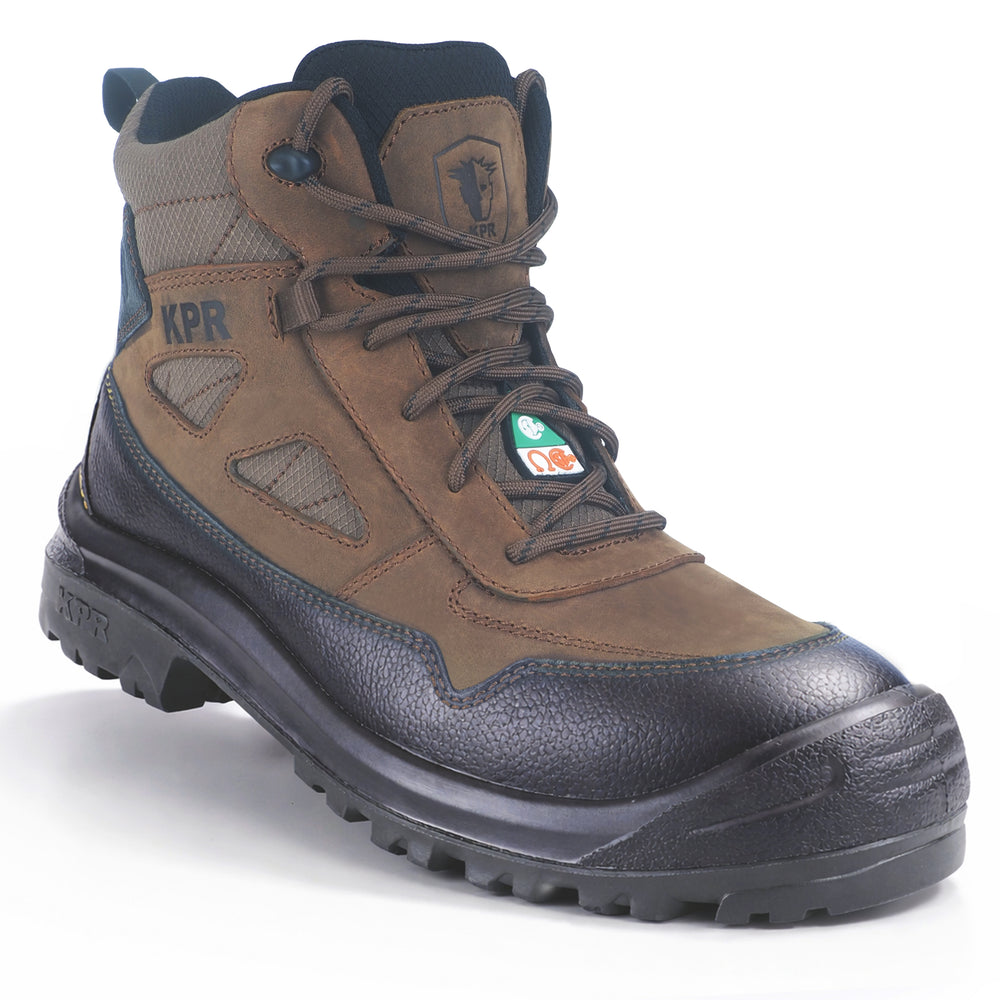
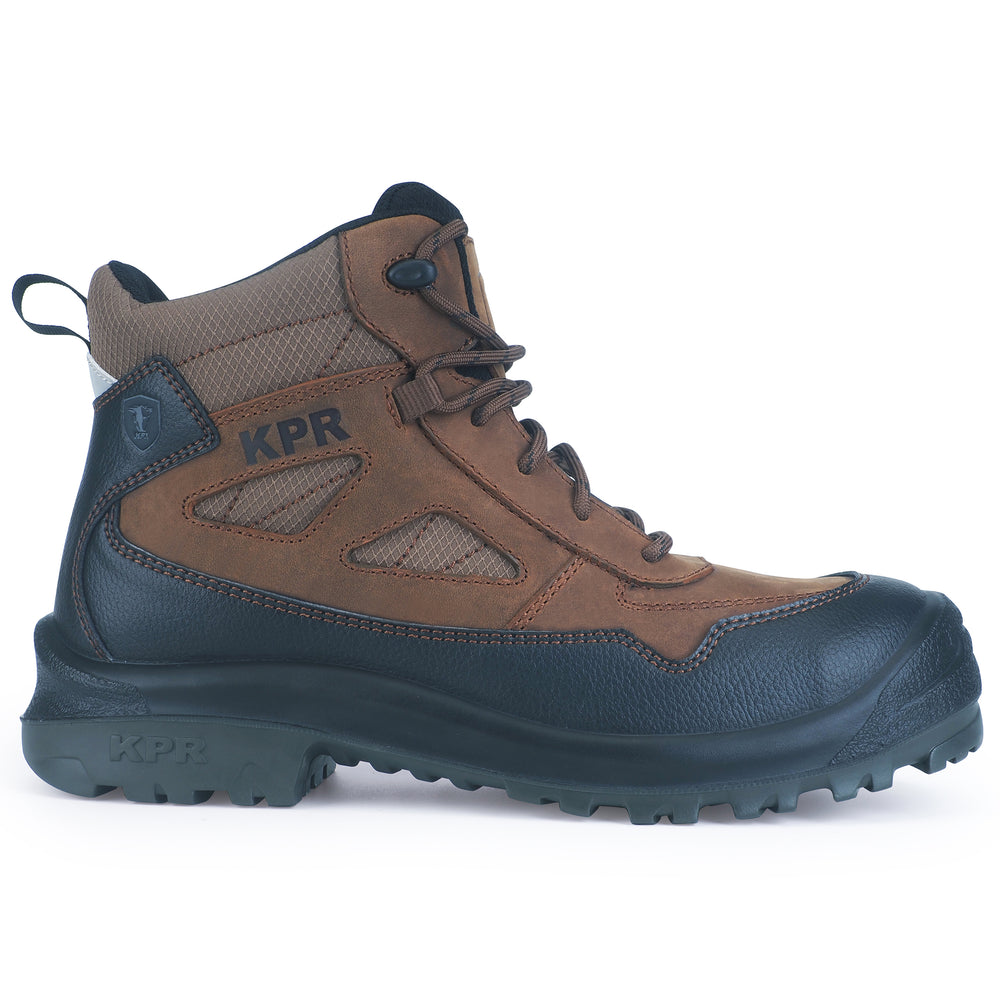
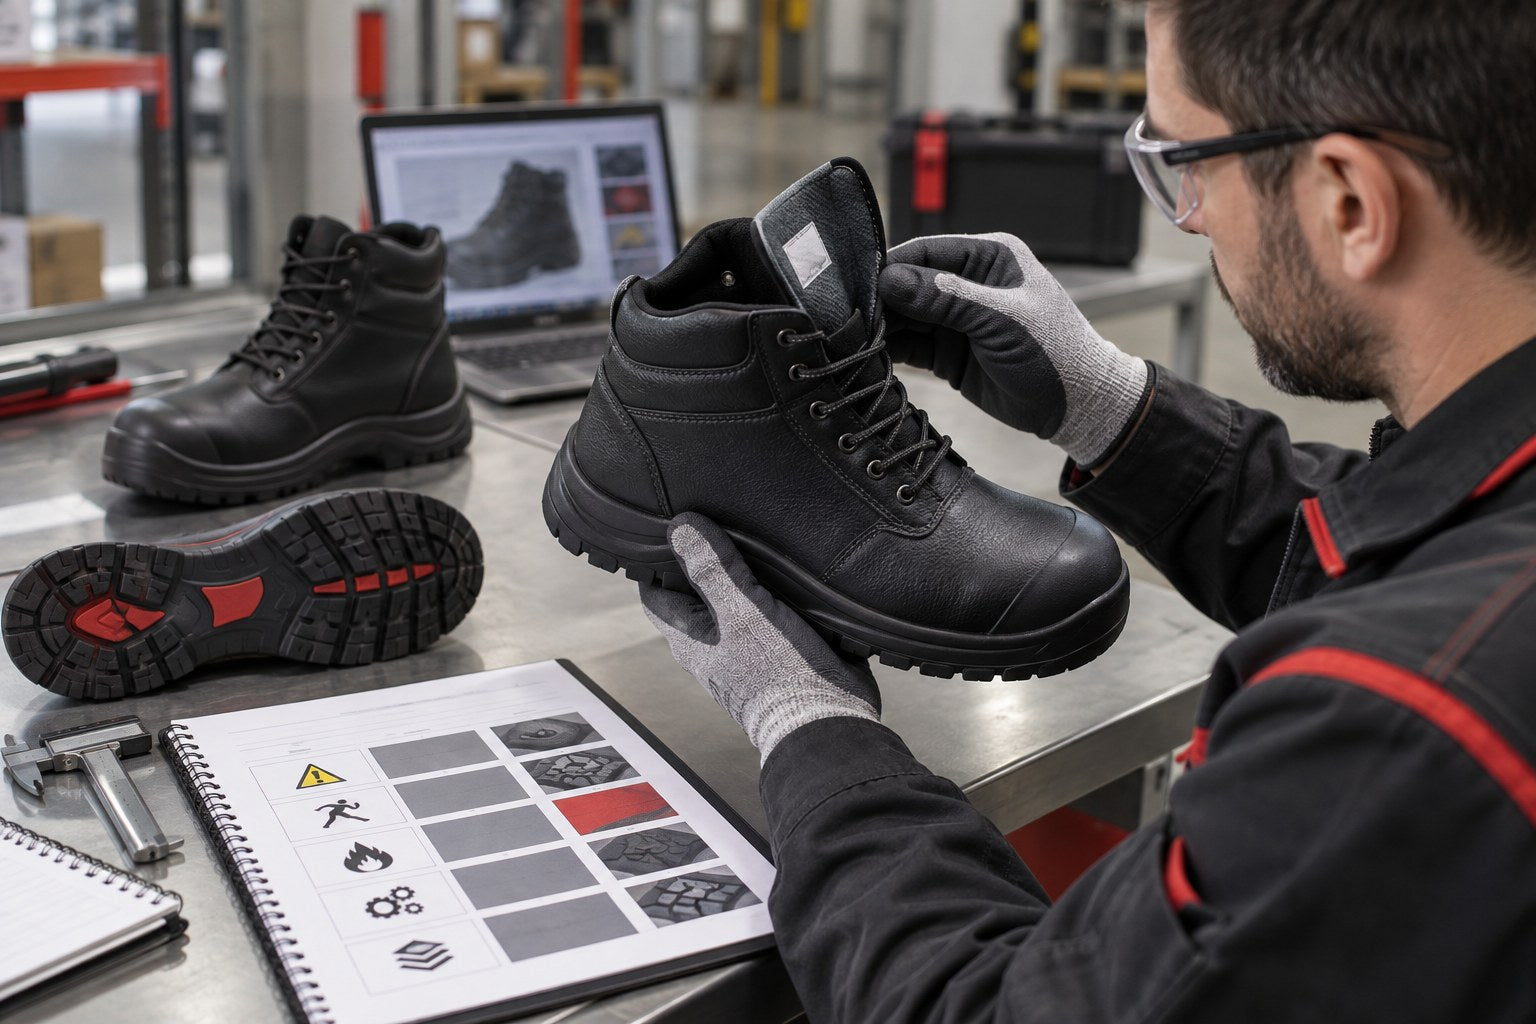
Match the product name, SKU, variant and permanent marking to the controlled document. Confirm the standard reference, edition, applicable protection categories and any stated limits. A family name, product photo or similar-looking model is not enough.
Keep separate claims separate
Toe, metatarsal, puncture, electrical, static-control, water and slip information address different risks. Verify every required category independently, even when several protections appear on one pair.
Check fit and condition before issue
Correct evidence does not remove the need for fit, wearer training, inspection and replacement. Confirm length, width, heel hold and task movement, then keep the footwear clean enough to inspect. Reassess it after major impact, penetration or visible damage.
Build a repeatable approval record
- Workplace, job role and destination jurisdiction.
- Hazards identified by the assessment.
- Required protection category for each hazard.
- Exact model, SKU and variant.
- Permanent marking and current controlled document.
- Fit trial, issue date, inspection and replacement responsibility.
If the hazards have not yet been documented, begin with How to Conduct a Workplace Foot Hazard Assessment. Use the U.S. Foot Protection Requirements overview for scope and quick answers.